Every fall, millions of us do the same strange thing.
We spend a whole weekend raking up the single best soil amendment our yard produces all year. We stuff it into paper bags. We drag it to the curb. And then, next spring, we drive to the garden center and pay for bags of mulch and compost.
If you’ve ever felt a little silly doing that, trust the feeling. Those leaves are free fertilizer, free mulch, and free soil-builder — and with almost no extra work, you can keep all of that value in your own yard.
Don’t bag them. Mow leaves into the lawn until you can see grass between the bits, pile the extra in a wire ring to make leaf mold, spread shredded leaves as 2–3 inches of mulch, and stockpile a few bags for next summer’s compost.
Leave some under shrubs for wildlife — just keep those spots away from play areas where ticks are a concern.
Why leaves are worth keeping
Think about where a leaf comes from. A tree’s roots pull water and minerals from deep in the soil, and a good share of those minerals end up in the leaves. When leaves fall and break down, those minerals and all that carbon return to the ground near the surface — right where your lawn, vegetables and flowers can use them.
Leaves are what composters call “browns”: high in carbon, low in nitrogen. On their own they rot slowly. Shred them, or mix them with something green and nitrogen-rich, and they become dark, crumbly organic matter that helps sandy soil hold water and helps heavy clay drain.
Yard trimmings like leaves and grass are also one of the largest single categories of material Americans throw away each year. Keeping yours is one of those rare moves that’s good for your wallet, your soil, and the planet at the same time.
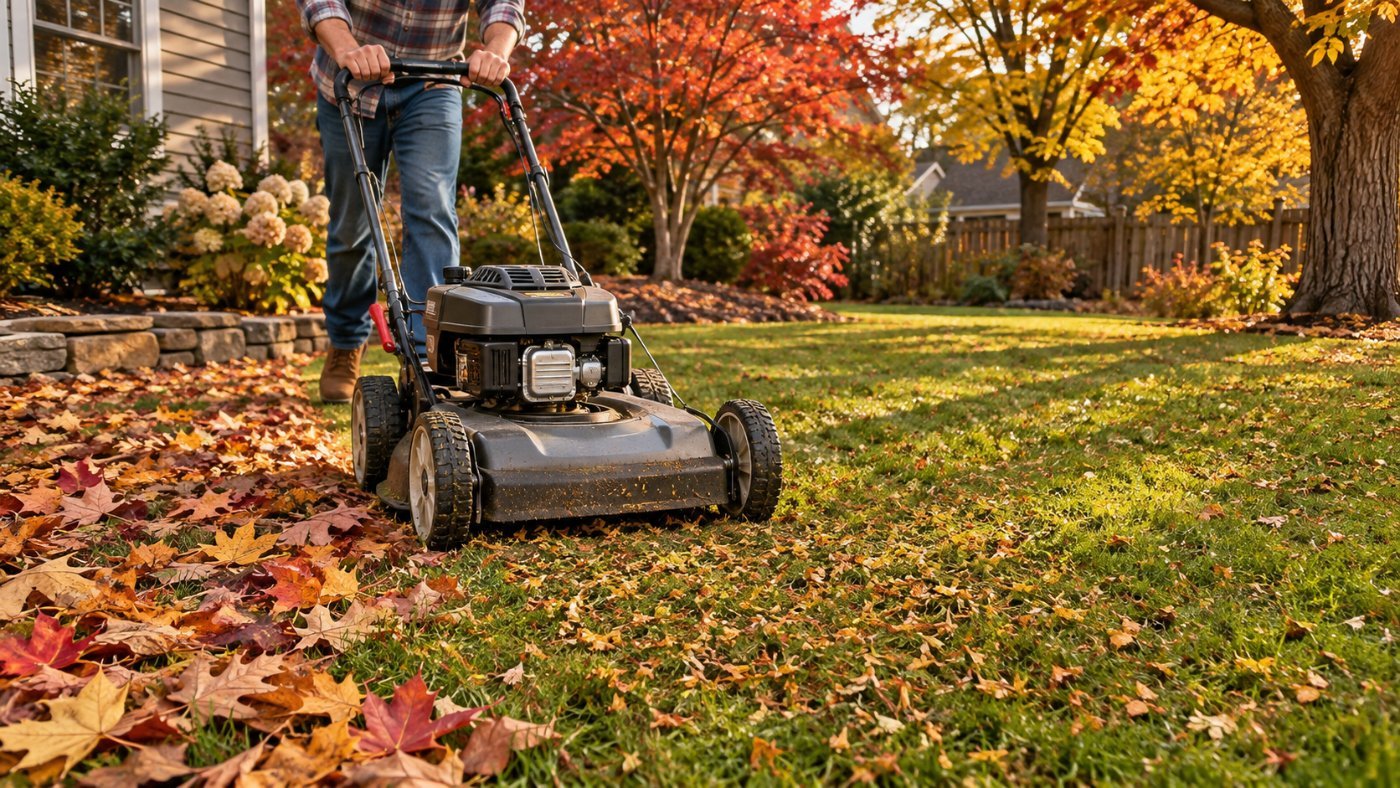
1. Mow them right into the lawn (the laziest method, and it works)
If you have a lawn, this is the easiest win.
Run over the leaves with your mower — a mulching blade is ideal, but most mowers do fine — until the pieces are about the size of a dime and you can see grass between the bits. Those fragments slip down into the turf and break down over the winter.
Turf researchers at Michigan State University found that mowing maple and oak leaves into an established lawn didn’t harm the grass. In several of their trials, plots that got a heavy layer of shredded leaves in fall also had far fewer dandelions the next spring — up to 80% fewer in the best cases, with maple leaves performing best. Results varied by year, so think of fewer weeds as a nice bonus rather than a promise.
The one rule: don’t smother the grass. If leaves are piled so deep that you can’t see the lawn after mowing, rake some off first and use them for one of the methods below.
2. Make leaf mold — the gardener’s secret ingredient
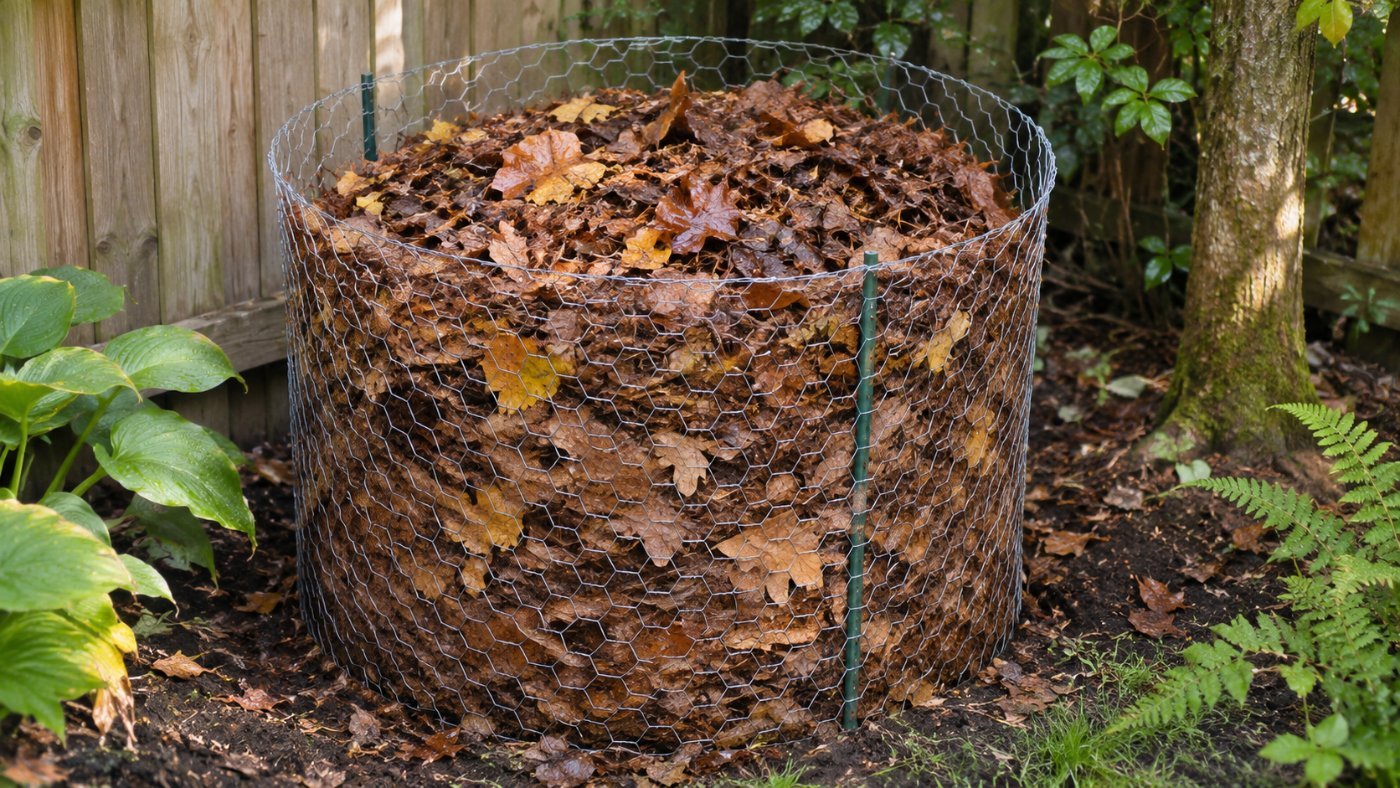
Leaf mold is simply leaves allowed to break down slowly, mostly by fungi rather than bacteria. The result is soft, dark, earthy-smelling material that works wonders as a soil conditioner and holds moisture like a sponge. British gardeners have prized it for generations. Most Americans have never heard of it.
How to make it:
- Shred the leaves if you can (a mower with a bag attachment is perfect). Shredded leaves can turn into usable leaf mold in roughly 6–12 months; whole leaves can take a year or two.
- Pile them in a simple ring of chicken wire or hardware cloth about 3–4 feet across, or stuff them into black plastic bags with a few holes poked in them.
- Get them damp — like a wrung-out sponge.
- Walk away. Check moisture now and then during dry spells.
No turning required. Next fall, you’ll have rough leaf mold that’s perfect as mulch or dug into beds. Give it a second year if you want the fine, crumbly stuff for potting or seed-starting mixes.
3. Mulch your garden beds
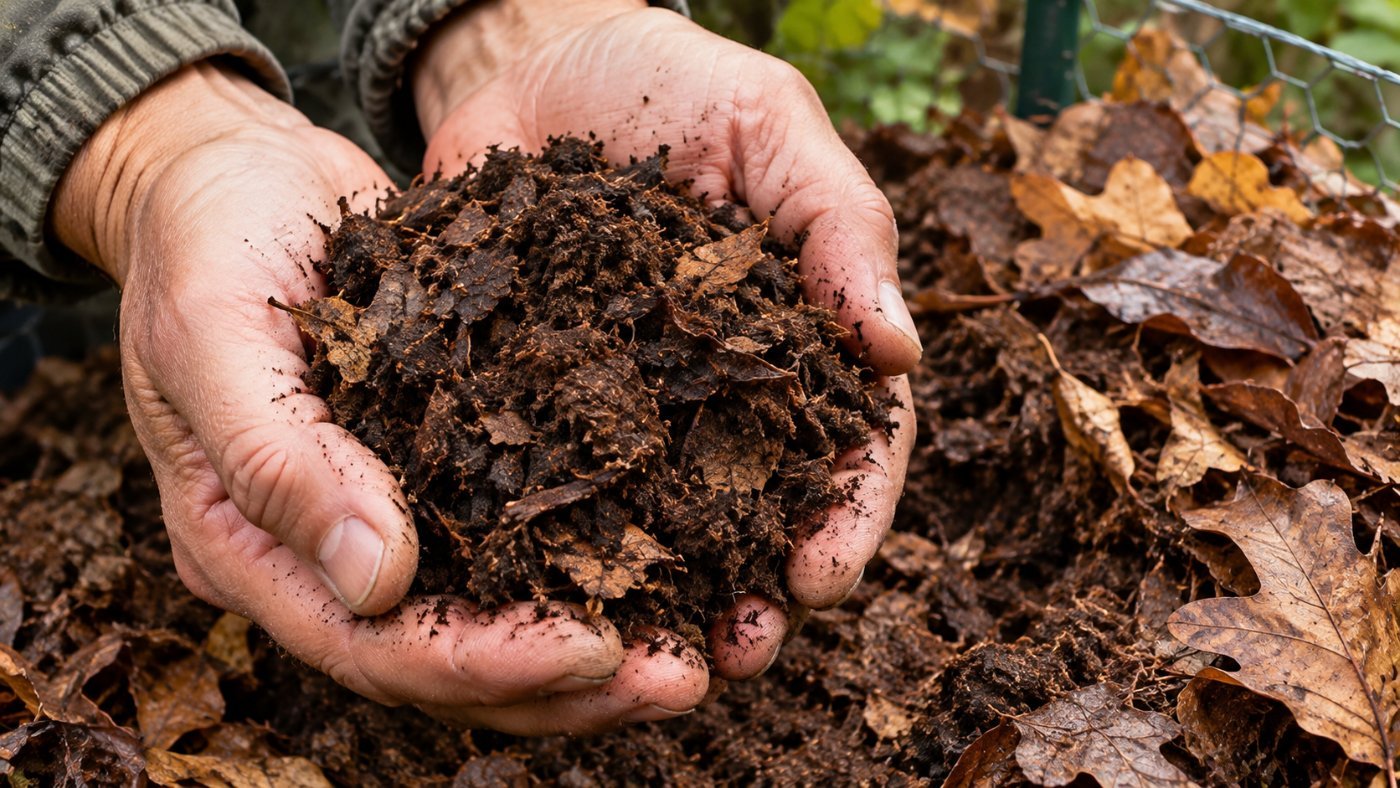
Shredded leaves make an excellent free mulch for vegetable beds, perennials and shrubs. Spread about 2–3 inches, keeping it a few inches away from tree trunks and plant crowns.
Shredding matters. Whole leaves — especially big, flat ones like maple — can mat into a soggy layer that sheds water and blocks air. Shredded leaves stay fluffier, let water through, and break down faster.
Over winter this layer protects soil from erosion and freeze-thaw swings. By spring, earthworms will have pulled a lot of it down into the soil for you.
4. Feed your compost pile all year
This trick solves the most common compost complaint.
In fall, compost piles drown in browns (leaves). In summer, they drown in greens (grass clippings, kitchen scraps) and turn slimy and smelly. So stockpile bags of shredded leaves now and keep them next to the bin. Every time you add a bucket of kitchen scraps or fresh clippings next summer, toss in a couple of handfuls of leaves.
Many composters use roughly two to three parts browns to one part greens by volume. Don’t overthink it: if the pile smells, add leaves; if nothing’s happening, add greens and a little water.
5. Start a new bed without digging
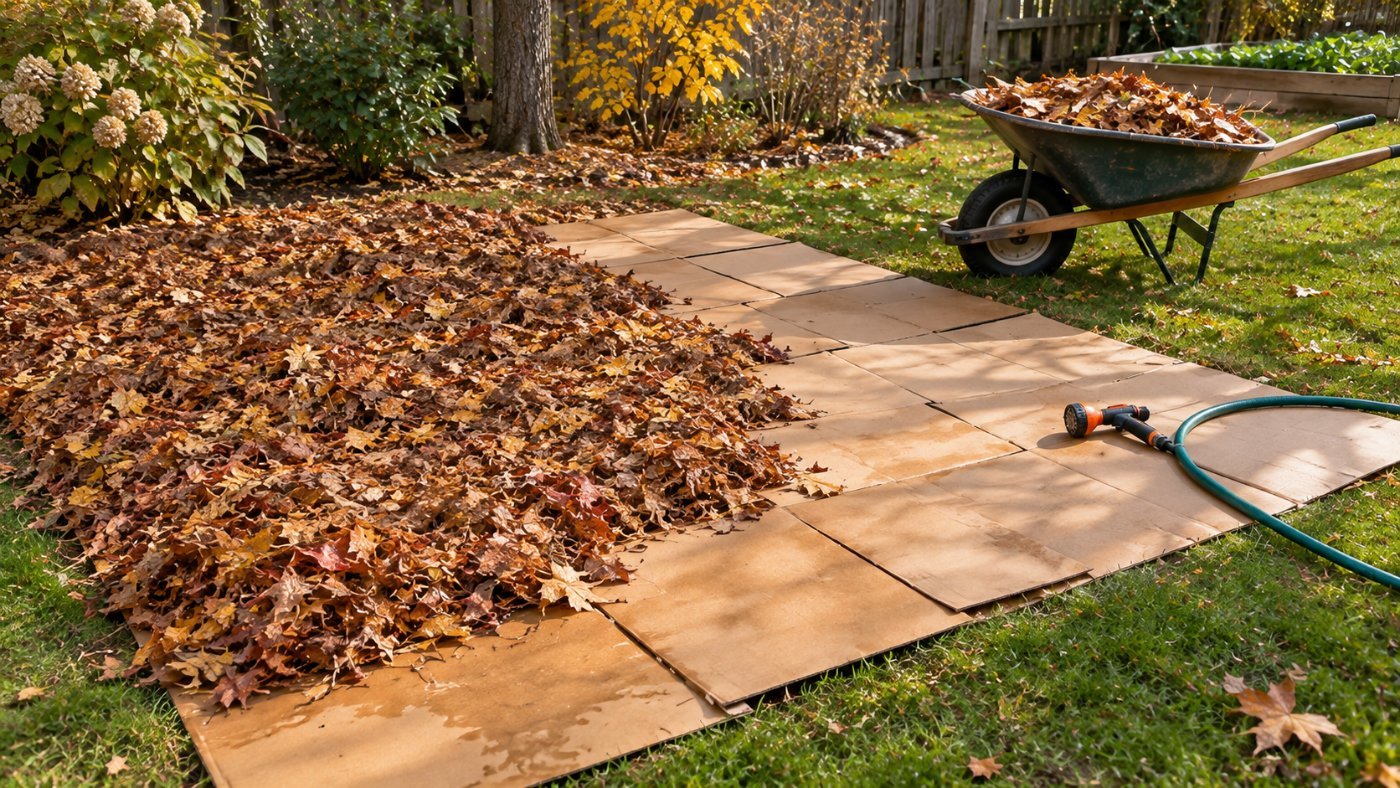
Want a new vegetable or flower bed? Start it now, right on top of the lawn.
- Mow the grass short.
- Lay down plain brown cardboard (tape and glossy labels removed), overlapping the edges so no grass can sneak through.
- Soak it.
- Pile on 6–12 inches of leaves, mixed with any grass clippings, coffee grounds or compost you have.
Over the winter the grass underneath dies back, the cardboard softens, and the worms move in. Gardeners call this sheet mulching or lasagna gardening.
Set your expectations honestly, though. In mild climates the bed may be ready for transplants by spring. In cold zones, the layers often won’t have broken down much by then — you can still plant by pulling the mulch aside and adding a few inches of compost or soil into each planting hole. And tough, running grasses like Bermuda grass, or weeds like bindweed, can push right through; those need a thicker cardboard layer and a season or two of patience.
6. Tuck in your tender plants
A loose blanket of leaves makes great winter insulation. Pile them over the crowns of marginally hardy perennials, around the base of roses, over newly planted garlic, or around potted plants you’ve grouped against a sheltered wall. Loosen or remove the cover in spring as new growth starts.
Leave some leaves for wildlife
The “every leaf must go” crowd misses something. A surprising amount of life overwinters in the leaf layer: butterfly and moth caterpillars and chrysalises, beetles, spiders, and the insects songbirds depend on to feed their babies next spring. Firefly larvae live in moist leaf litter, too.
So I like a two-zone approach:
- The lawn, walkways and play areas: mow the leaves in, or rake them up and put them to work elsewhere.
- Under shrubs, in perennial beds, and in a back corner: leave them. Wait until spring has truly warmed before tidying those areas.
There’s one important caveat. In the Northeast, the mid-Atlantic and the Upper Midwest, blacklegged (deer) ticks also overwinter in leaf litter. Keep your wildlife leaf zones away from the edges of lawns where kids play, paths you walk daily, and pet runs — the back-corner approach is ideal for exactly this reason.
You get a tidy yard where it matters and a wildlife-friendly yard where it counts. Everybody wins, including the songbirds at your feeder.
A few cautions
- Black walnut leaves contain a natural compound (juglone) that can stunt sensitive plants like tomatoes. Composting breaks it down over time, so compost those leaves thoroughly rather than using them fresh as mulch around vegetables.
- Diseased leaves — from a tree with a bad leaf-spot or scab problem, for example — are better off in a hot compost pile or your local yard-waste collection than spread back under the same tree.
- Leaves from along busy roads may carry road salt and other residues. Use them on ornamental beds rather than food crops if you’re concerned.
- Never burn leaves. It wastes all that value, and the smoke is rough on lungs — in many places it isn’t allowed anyway.
Zone-by-zone tips
| Zone | What to know |
|---|---|
| 3–5 | Leaf mold piles freeze solid and pause over winter — that’s fine. Use shredded leaves as a thick insulating mulch over garlic and perennials. Expect sheet-mulched beds to need extra compost at planting time. |
| 6–7 | The sweet spot for leaf mold. Piles keep working through mild spells. Stockpile bags for next summer’s compost. |
| 8–10 | Leaves break down fast in warm, moist conditions, so leaf mulch may need topping up by spring. In dry western areas with wildfire risk, keep dry leaf piles and leaf mulch at least 5 feet away from your house, deck and fences. |
Before you rake another leaf into a bag, try this: mow half your lawn’s leaves right into the grass, and pile the rest into a simple wire ring in a back corner. Wet the pile down and forget about it.
Next fall, dig under the top layer. When you find that dark, earthy leaf mold — the kind people in England pay good money for — you’ll never look at a leaf bag the same way again.
Sources & further reading
- Michigan State University Turfgrass Science — Mulching leaves into turf
- Royal Horticultural Society (RHS) — Leaf mould: making and using
- University of Illinois Extension — Composting / Fall leaves
- U.S. Environmental Protection Agency (EPA) — Facts and Figures about Materials, Waste and Recycling (yard trimmings)
- The Xerces Society — Leave the Leaves
- University of Wisconsin–Madison Extension — Black Walnut Toxicity